IAM Create Roles

Welcome to another article on IAM. In the previous article we created users and groups with IAM, added users to groups and even attached permissions directly to the users. In this article we’ll go through creating roles.
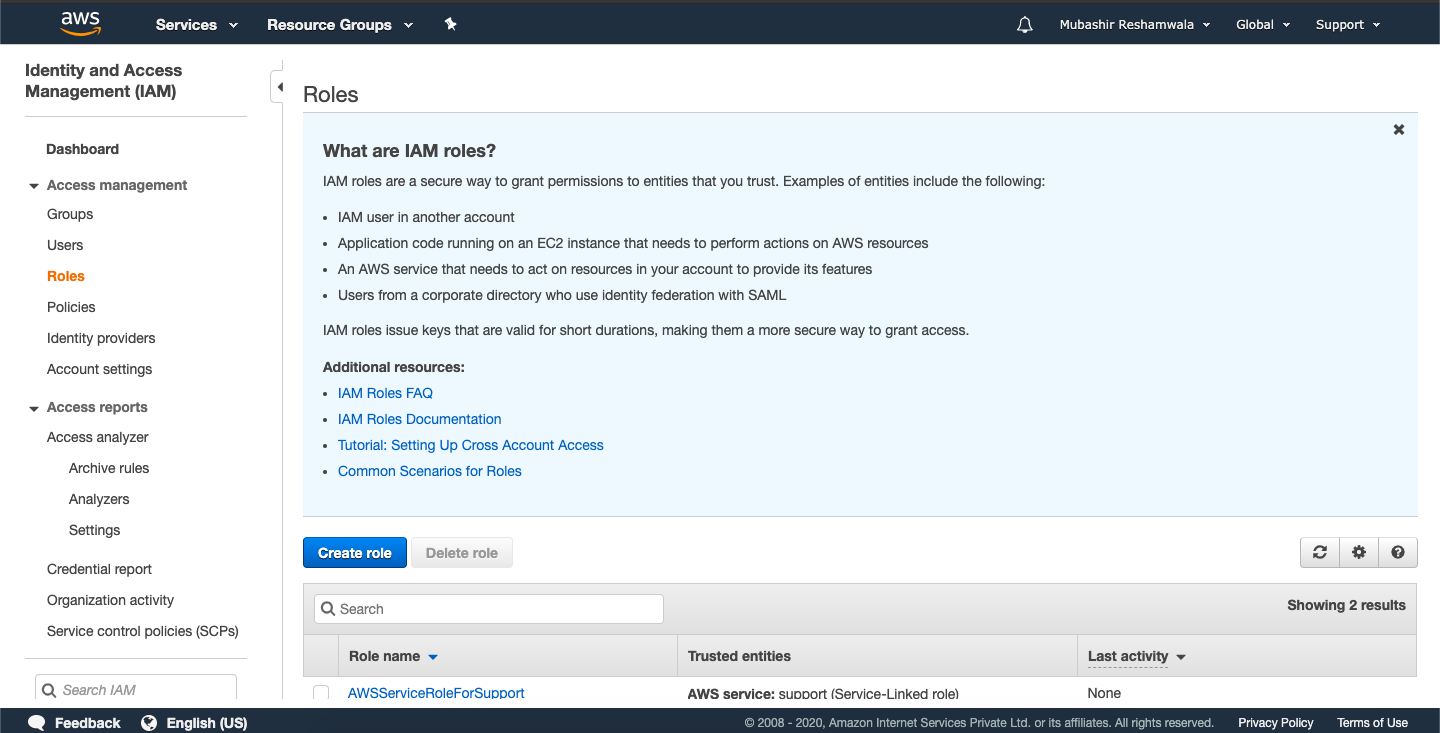
To work with roles, you need to head over to Services > IAM (Under Security Identity and Compliance) > Roles.
“IAM roles are a secure way to grant permissions to entities that you trust. Examples of entities include the following:
* IAM user in another account
* Application code running on an EC2 instance that needs to perform actions on AWS resources
* An AWS service that needs to act on resources in your account to provide its features
* Users from a corporate directory who use identity federation with SAML”
I think the AWS definition is pretty clear on some of the use cases of Roles. So let’s go ahead an create one.

On clicking Create Role you’ll be presented with this screen. As mentioned in the introduction, roles can be created for:
- An AWS Service
- A user in AWS another account
- A Web Identity (AWS Cognito or any other OpenID provider)
- SAML 2.0 federation
Notice how it says common use cases as EC2 and Lamda. That’s because often web applications running on an EC2 instance (Web Server) require access to S3 (File Storage) and to databases (either on RDS or on another EC2 server). Same goes for Lambda, Lambda is a serverless service provided by AWS, which simply means your server cost isn’t fixed, instead you are charged as per usage.
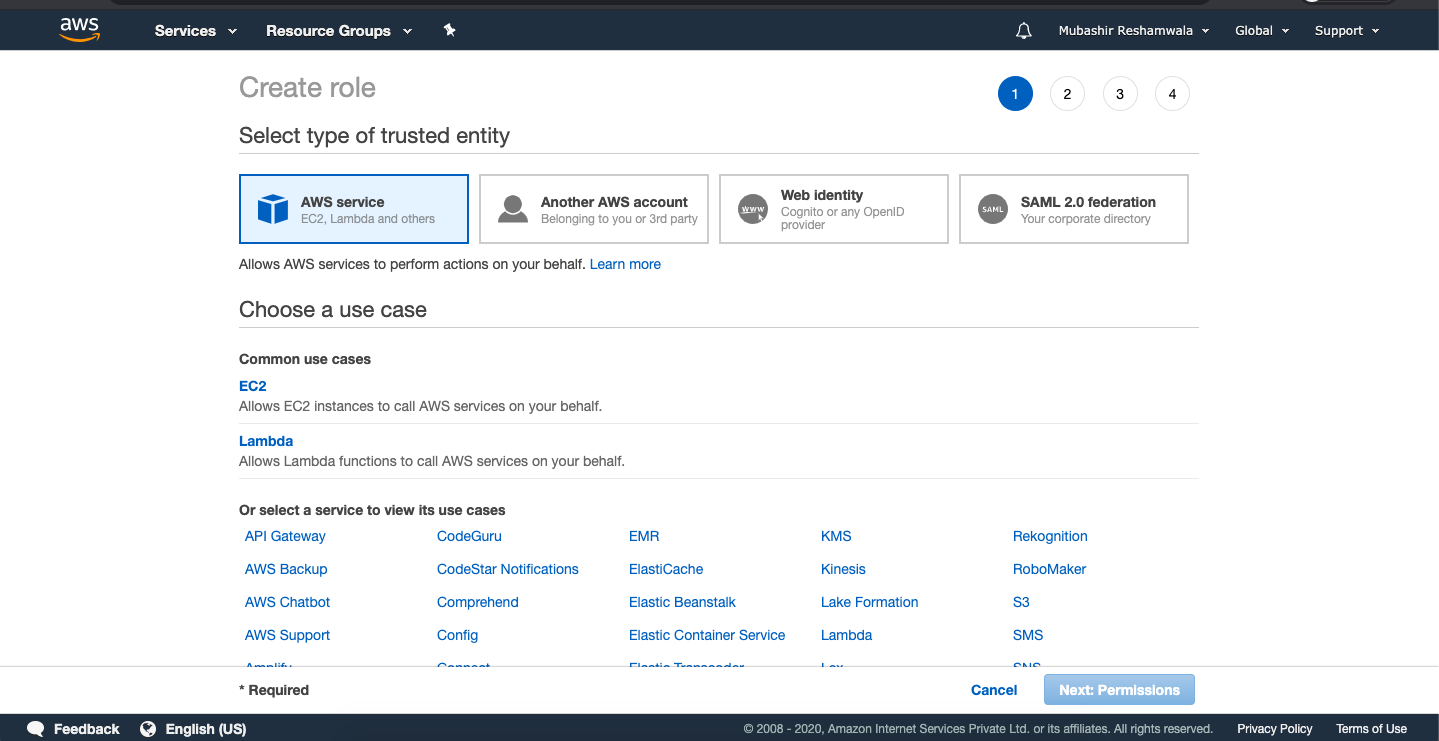
In this article we’ll create a role for EC2 servers. Let’s select EC2 and then click next. We can now select a policy. A policy is simply a set of permissions that can be given to the services with the role attached. Let’s search for and take a look at S3FullAccess.
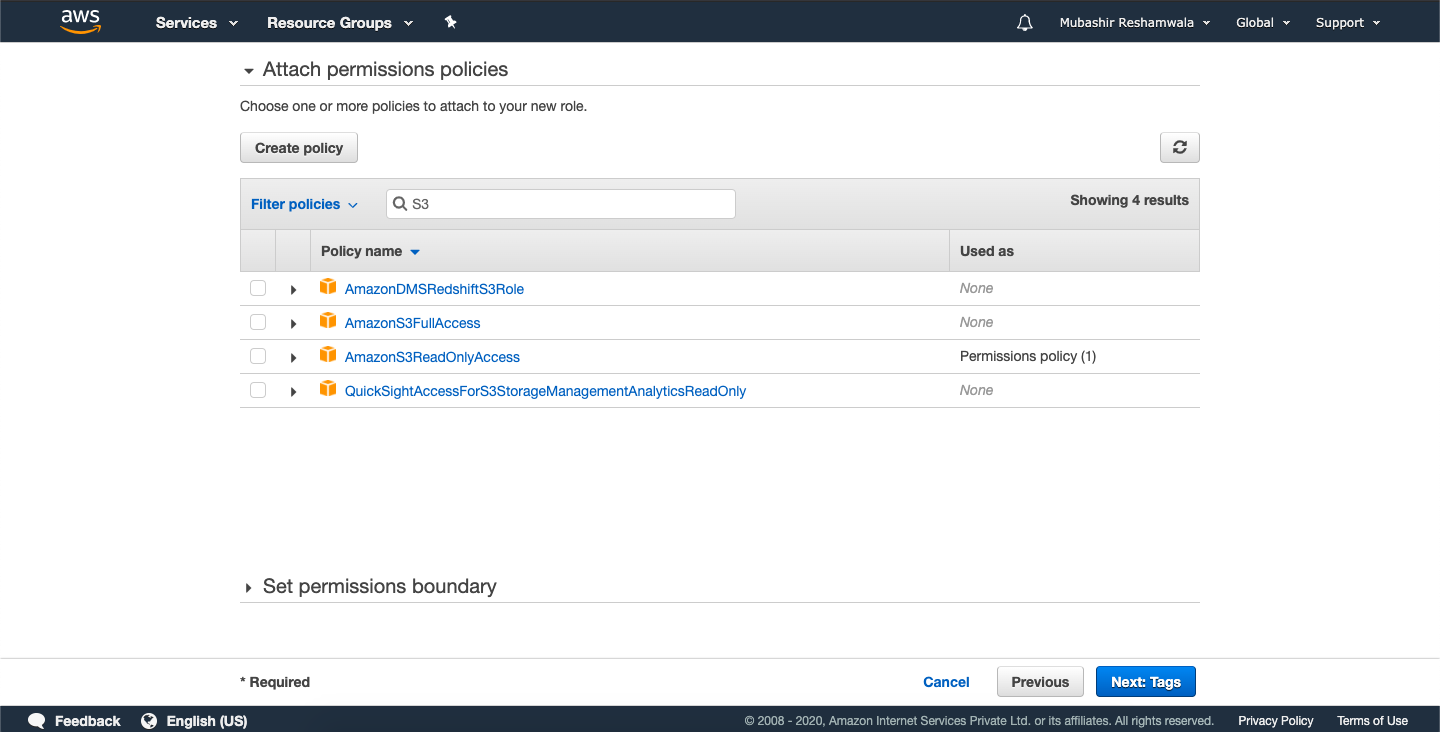
If we expand AmazonS3FullAccess, we can see the following
{
    "Version": "2012-10-17",
    "Statement": [
        {
            "Effect": "Allow",
            "Action": "s3:*",
            "Resource": "*"
        }
    ]
}
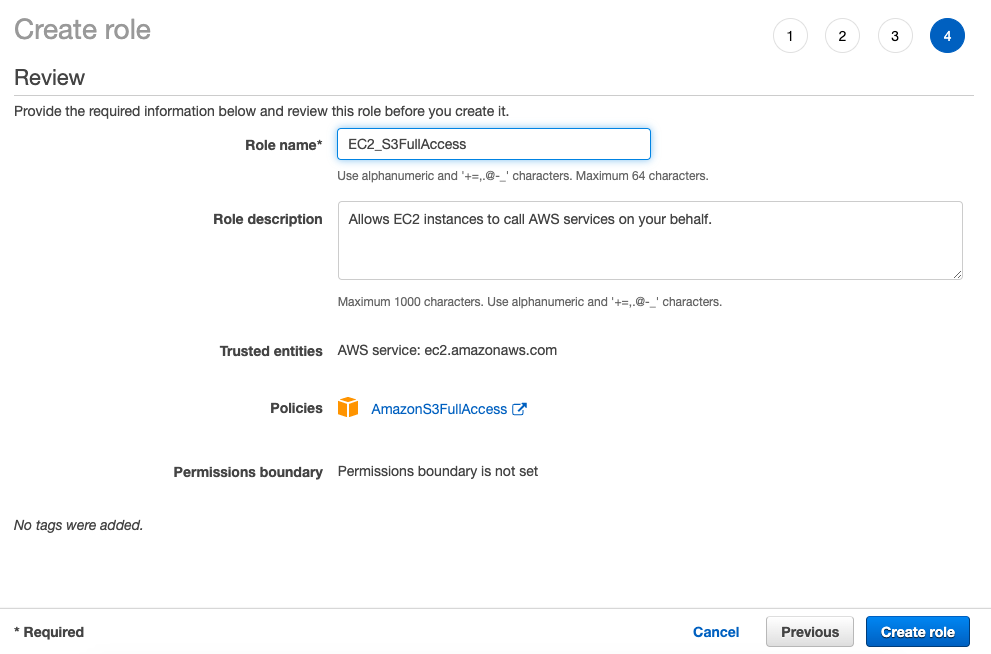
Here we see that the actions that can be performed are s3:*, meaning any action can be performed on S3. Let’s select it and click next. You can again add tags if you like here, and then click next again to review.
Here we need to add a name for the role and optionally a description. I’m just going to call it EC2_S3FullAccess and create role.
The role is now visible in the roles section of IAM.

Since this role isn’t attached to any EC2 instance, no instances can benefit from it. We can test it out if we like. I’m assuming you don’t have AWS CLI configured in your server, if it is and the server already has permission to access the services that you provisioned in this role, you won’t be able to test it out. You may wan’t to delete it in order to test.
NOTE: Your server’s access will be revoked until the role is attached
rm -R ~/.aws/credentials
rm -R ~/.aws/config
aws s3 ls
This is the Amazon Linux AMI, if you have a different OS you might want to find out where the credentials are stored in your server.

As you can see, we do not get access to s3. Let’s go back to our console and attach the role to our EC2 instance. Head over to Services > EC2 > Instances
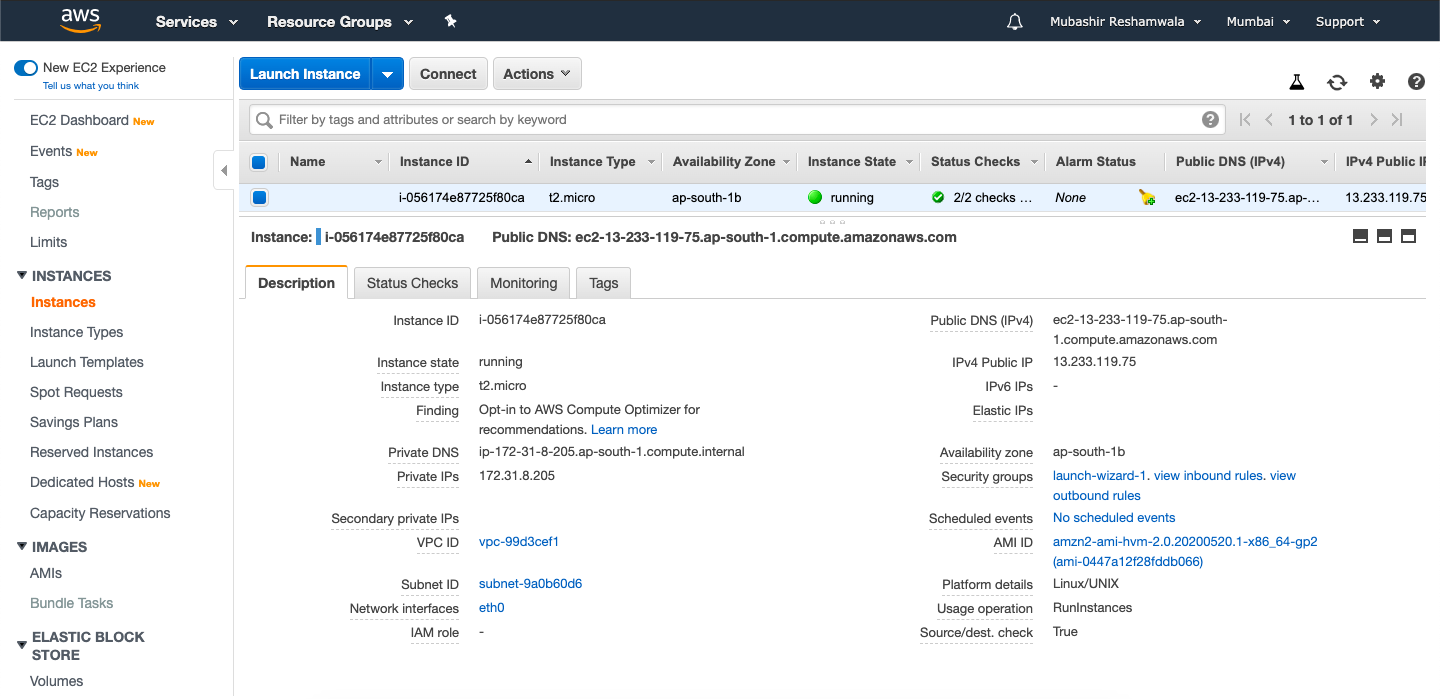
Select the instance and click on Actions > Instance Settings > Attach/Replace IAM role.

Select the IAM role you created and click Apply.
If you now go back to the terminal, you should be able to list your s3 items (considering you allows S3 read or full access in your role).

Woohoo! Our EC2 server can now talk to the S3 server and save update and delete files. You can now enable that profile pic feature in your app 👨💼
Alright, it’s time for me to go now. If you’ve got questions, pop them in the comments section below. See ya! 👋